
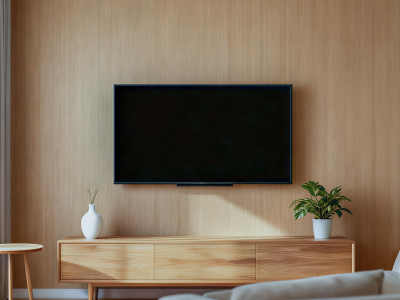
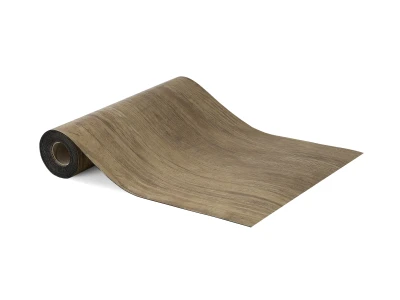
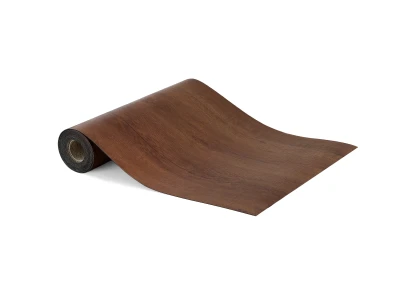
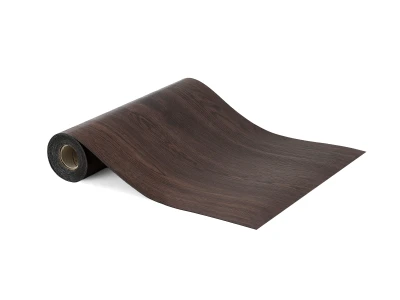
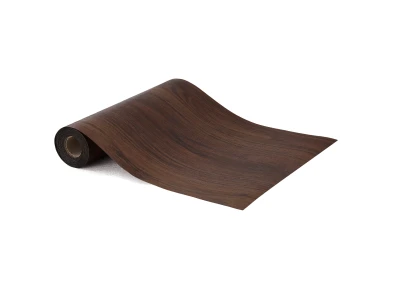
IXPE Wood Grain Wall Stickers (Large Roll)
How to Install Self-Adhesive Wall Stickers
Congratulations on starting your renovation project! Before you begin, please take a few minutes to read the following installation instructions to simplify the process as much as possible.
What You'll Need
1. Multi-purpose wall cleaner
2. Small towel or cloth
3. Sharp scissors or utility knife
4. Pencil or chalk
5. Ruler
6. Clean the surface
Steps
1. Removing stains and dust from the wall is an essential preparation step. Be sure to clean the self-adhesive wall sticker area, removing grease and other residues. Allow it to dry before starting the installation.
2. Measure the wall dimensions.
3. To ensure the self-adhesive wall sticker is correctly aligned, use a pencil or chalk to mark guide lines to indicate its placement.
4. To cut straight edges, place the self-adhesive wall sticker on a cutting mat. Use a utility knife and ruler as guides to cut along a straight line. The cutting method depends on the material of the self-adhesive wall sticker. For example, ordinary scissors can cut self-adhesive wall stickers, while harder materials may require a utility knife.
5. Tear, paste, and press.
Important Note
1. Please account for 3-5% wastage and purchase enough self-adhesive wallpaper at once.
2. Reinforce with a laminating roller after installation.
For rough surfaces and deeply textured walls, please follow these instructions:
- Sand the surface with sandpaper or putty.
- Clean the wall with a damp cloth.
- Wait for the wall to dry completely.